
Created by : Seth, Cas, Kyto and Eldrasin
Edited by: Lady A

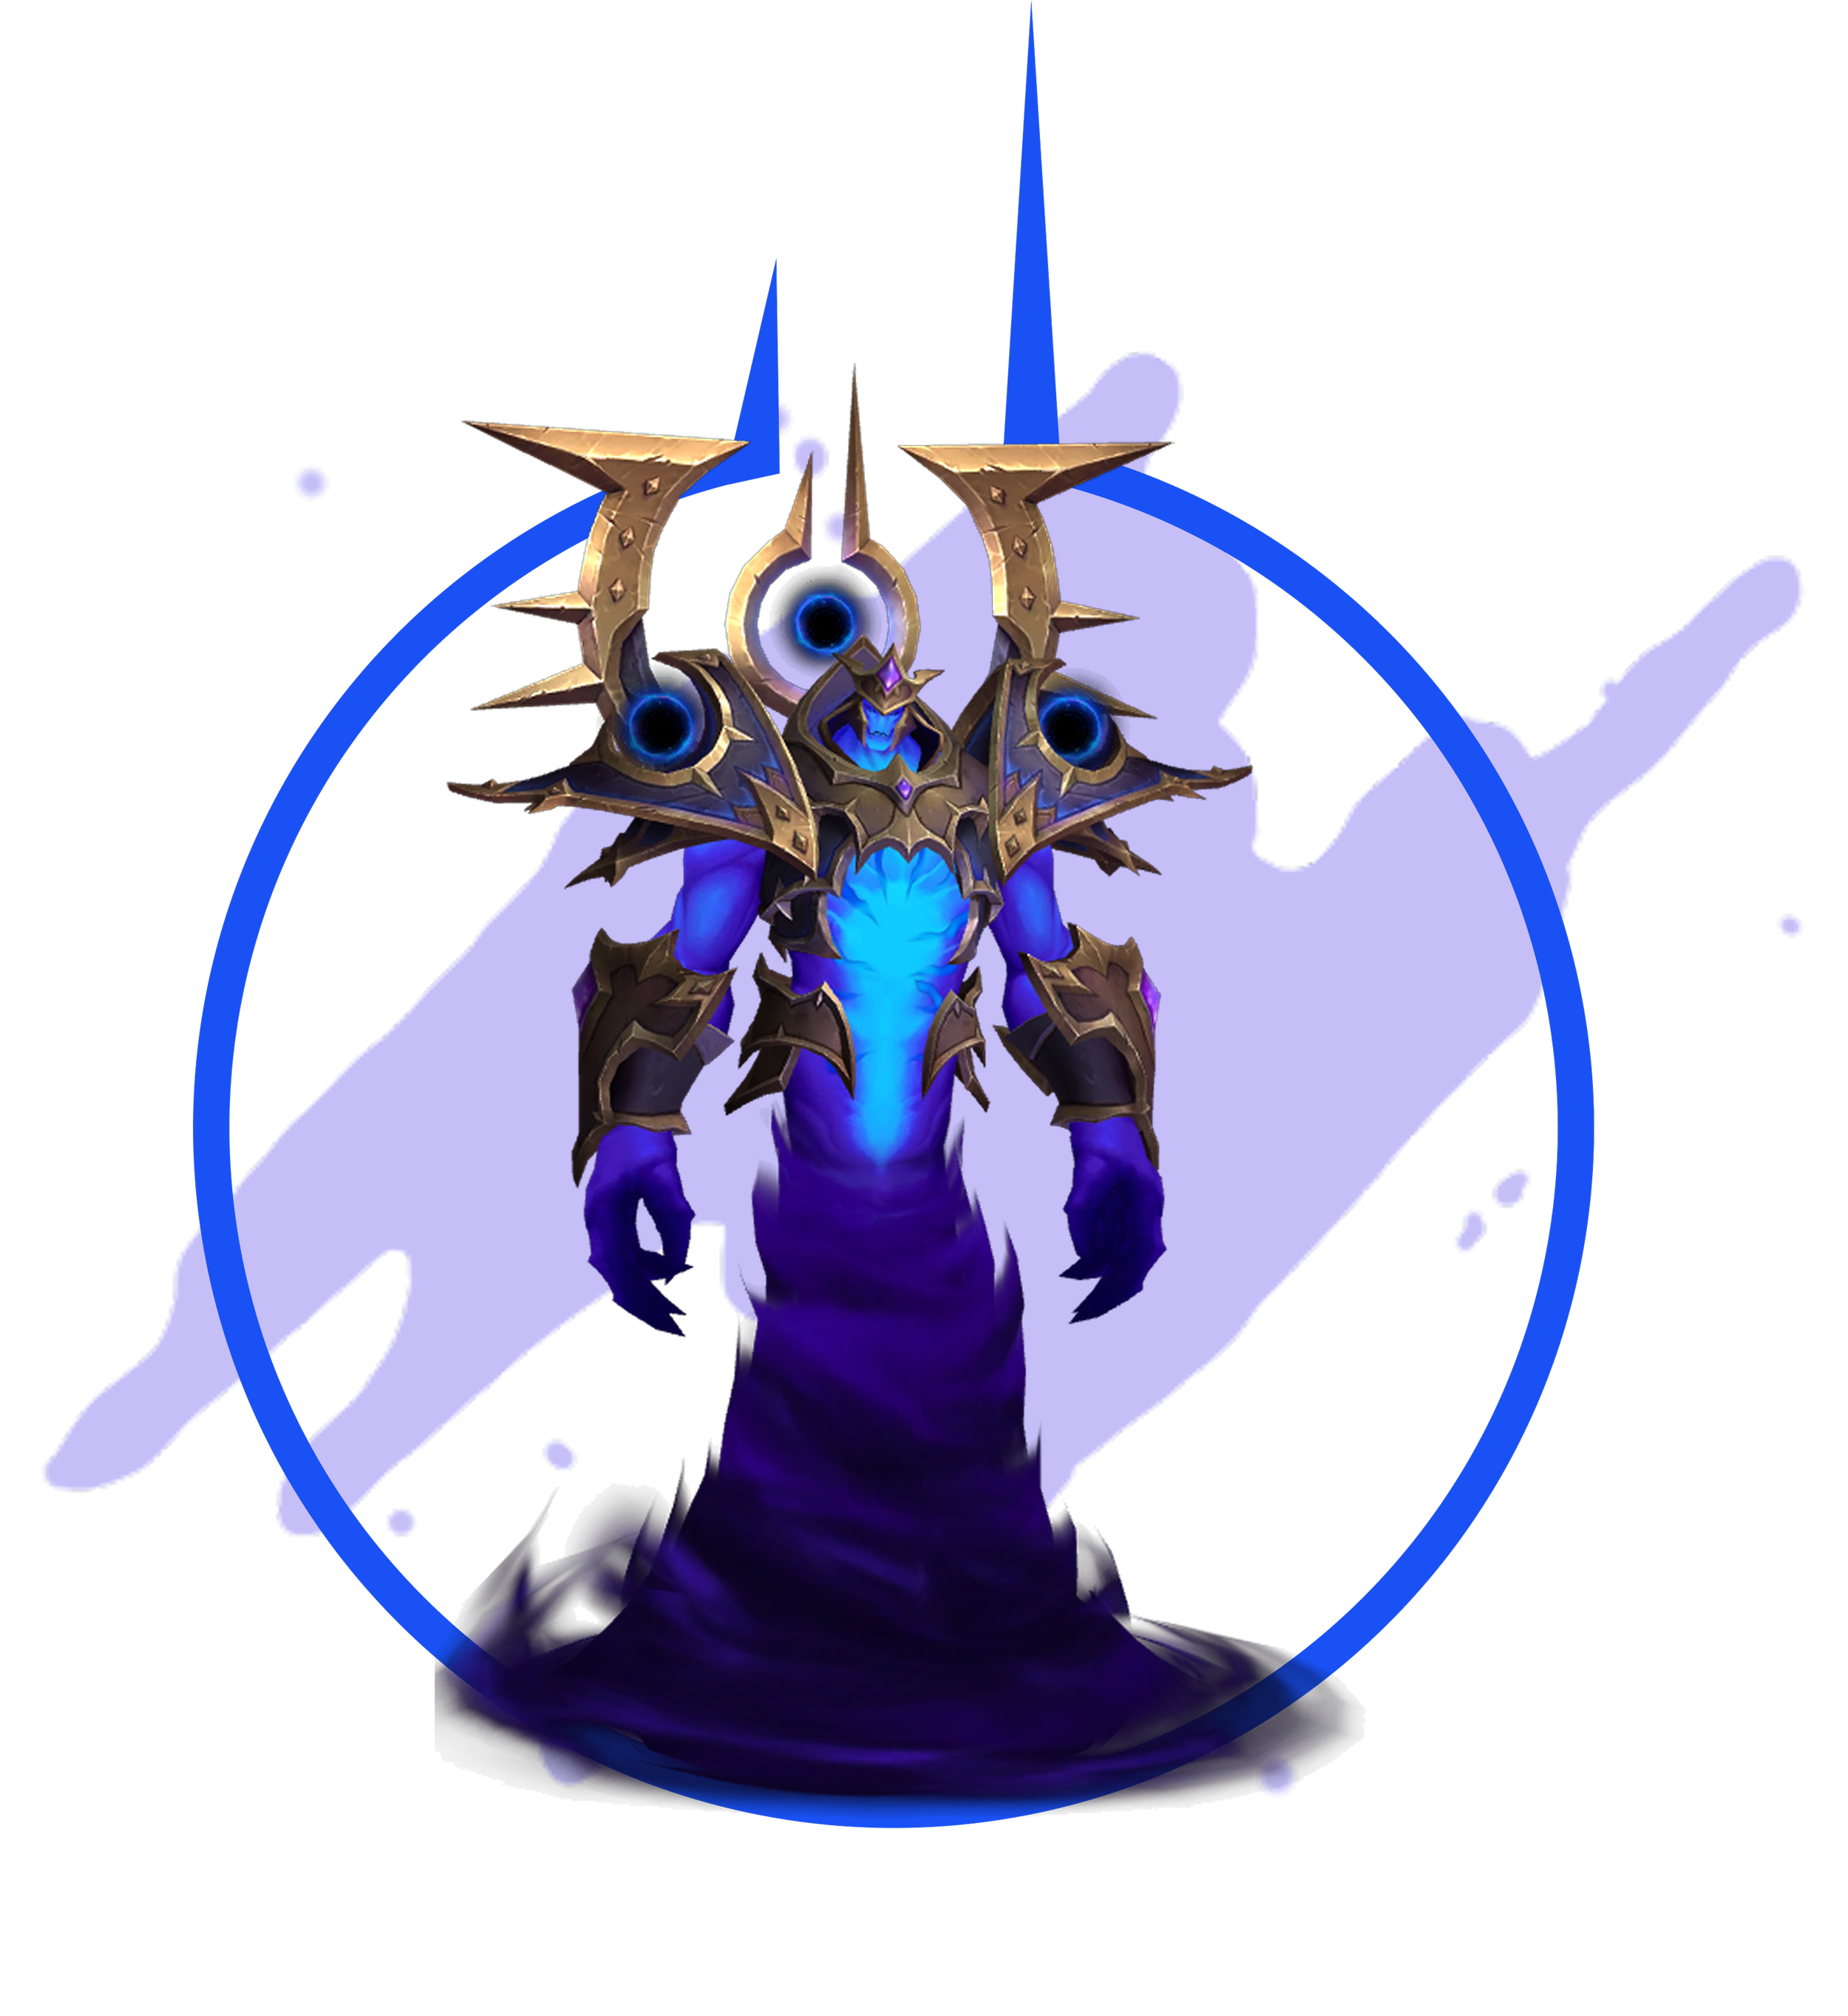
Imperator Averzian
-
Imperator Averzian wages a relentless campaign, seeking not conquest, but annihilation. His entire will is bent to a singular ambition, to rend the veil between worlds and carve a breach into the Void itself.
Through this wound, his infinite host shall pour forth, drowning Azeroth in darkness.
-
Overview
This fight is a single phase game of Tic Tac Toe.
The room becomes a 3x3 grid. The boss tries to claim spaces.
If he completes three in a row, vertically, horizontally, or diagonally, the raid wipes.
Your job is to control which tiles he claims and never let him finish a line.
Core Mechanics
The Board
The floor becomes a visible 3x3 grid. The boss will attempt to claim tiles throughout the fight. Your positioning and add control determine which tiles he takes.
Umbral Collapse and the Adds
*The boss spawns 3 immune adds.
* Tanks select 2 of them.
* Each selected add is destroyed by soaking Umbral Collapse.
* This is a group soak. If players do not stack with the tank, it will likely kill them.
Tanks must swap after each soak.
The third add becomes a portal:
* The portal spawns smaller adds.
* These must be AoE’d down.
* Interrupt their casts.
**Positioning Rule**
The boss and all adds must stay at least 10 yards away from any claimed tile.
If they are too close:
*They become immune.
*They deal 75% increased damage.
*This is non negotiable.
Other Mechanics
* Dodge frontal beams from the boss.
* Do not stand in swirlies.
In other words, If it looks bad, move. -
Not soaking Umbral Collapse with the tank.
Standing in beams.
Standing in swirlies.
-
Failing to soak properly.
Letting adds free cast.
Letting the boss or portals get within 10 yards of claimed tiles.
Letting the boss complete three in a row.
-
Sustained raid damage throughout the fight.
Heavy spikes during Umbral Collapse soaks.
-
Swap after each Umbral Collapse.
Keep the boss at least 10 yards away from claimed tiles at all times.
-
On Pull
-
The boss must also be kept 10 yards away from the active adds, not just claimed tiles.
Imperator Averzian Simplified
Control the board. Soak with tanks, kill portal adds, and never let the boss complete three in a row.

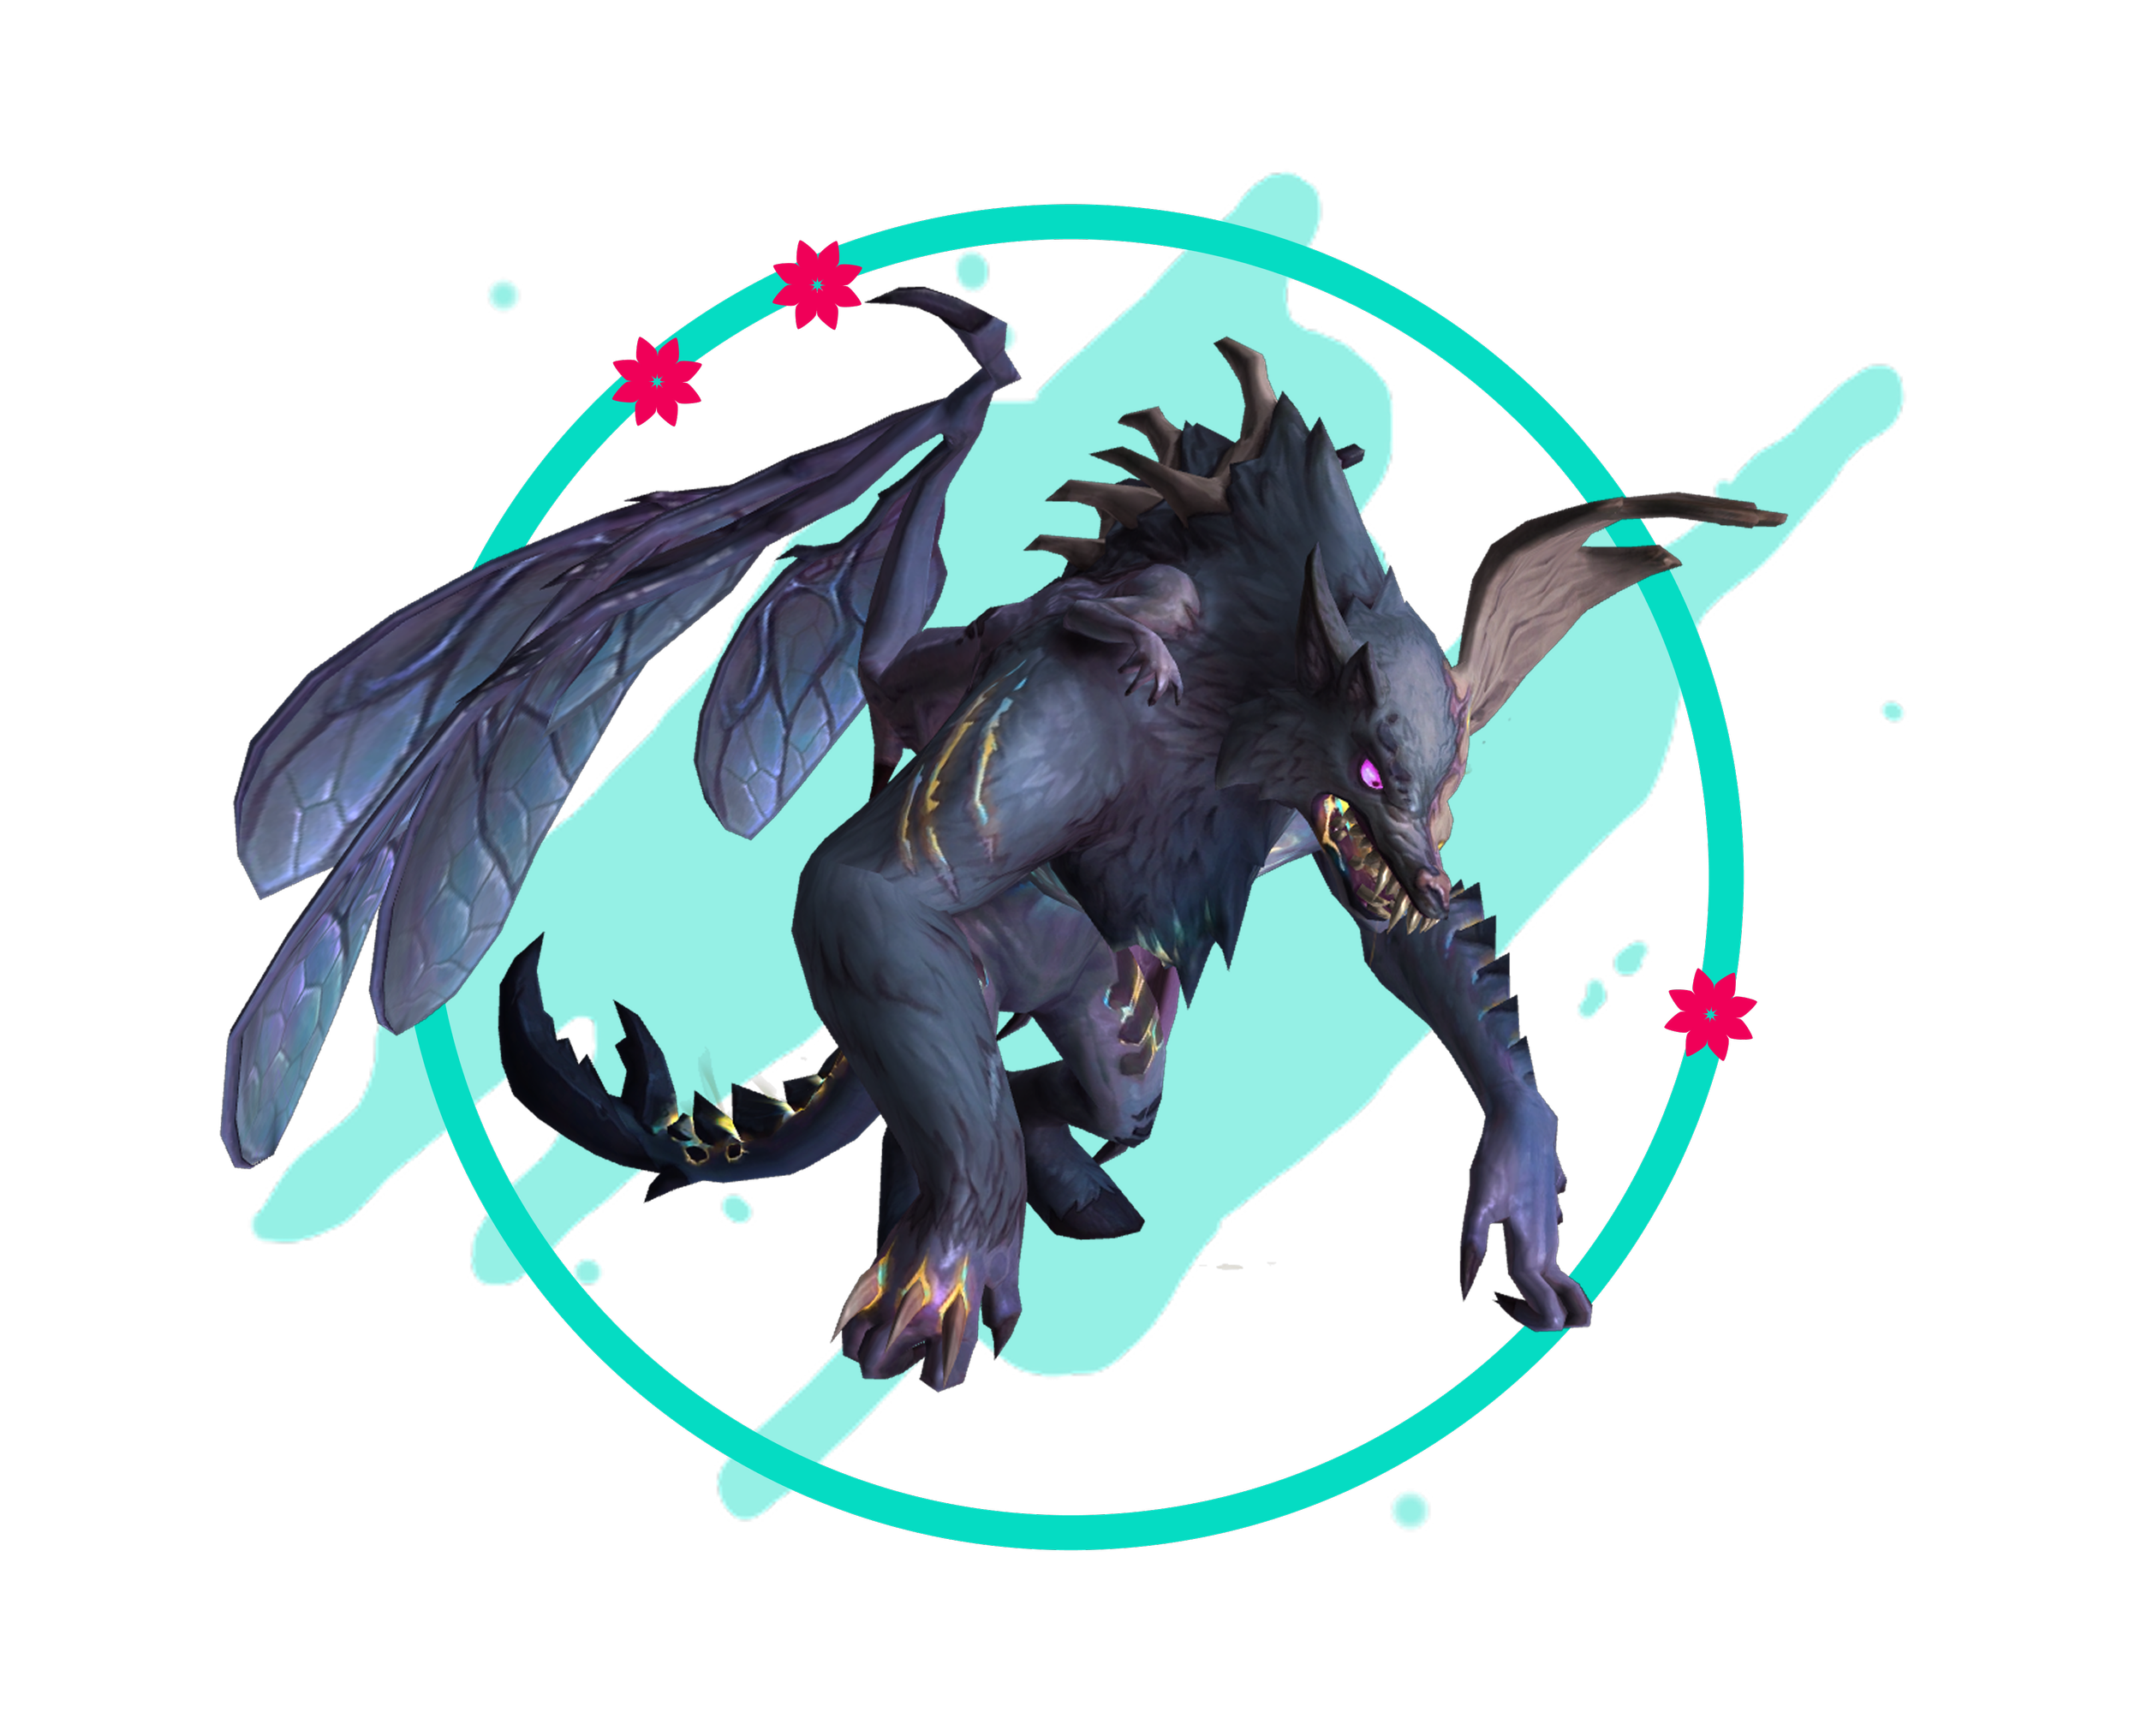
Vorasius
-
A colossal predator born in the wastes of the Voidstorm, Vorasius is grew to an incredible size fueled by an endless hunger. Summoned to the battle raging at the base of the Voidspire by Voidlight Everdawn, this colossal monster now feasts on both sides.
-
Overview
Single phase fight with repeating mechanics.
The boss does not move.
The fight revolves around:
* Managing crystal walls
* Surviving the breath
* Using adds to break the walls
Core Mechanic
Tank Smash → Crystal Wall
The boss casts a heavy tank hit that:
* Deals large damage to the tank
* Spawns a crystal wall from the boss to the back of the room
* These walls block movement and line of sight.
Breath Ability
The boss will cast a breath attack and slowly sweep it from one side of the room to the other.
If a wall is between you and the safe side, you cannot escape and will die.
**Top Tip** At the start of the breath cast, the boss turns his head toward the side he will begin sweeping from. Move early.
Breaking the Wall
Blistercreep adds spawn near the walls.
* They fixate a random player.
* The fixated player must kite the add to the crystal wall.
* When the add dies next to the wall, it damages the wall.
Do not kill the add early and do not kill all adds at once.
Other mechanics
Expanding Donut
After the tank smash, a ring expands outward from the boss.
Step out of it.
Primordial Roar
The boss pulls all players toward him.
If you are near the edge, you can be pulled off the platform. -
Getting hit by the breath.
Standing in the tank smash.
Standing in the expanding donut.
Getting pulled off the platform by Roar.
-
Killing Blistercreeps before they reach the wall.
Killing multiple Blistercreeps at the same time and wasting explosions.
Failing to break walls and trapping the raid during breath.
-
Large burst damage from Tank Smash and Primordial Roar
Be ready for back to back pressure after smash.
-
Swap after 2 stacks from Tank Smash.
Be prepared for heavy hits during wall spawns.
-
On pull
-
Each crystal wall requires two Blistercreep explosions to break.
Vorasius Simplified
Break the walls using the adds, dodge the breath and donuts, and do not get pulled off the platform.

Fallen-King Salhadaar
-
After turning on Xal'atath, the fallen king Salhadaar has become a captive of the very Shadowguard he once commanded. Tortured, delirious, and infused with the Void, he awaits his death -- or a chance to win his people's freedom from Xal'atath's grasp.
-
Overview
One phase fight with a repeating intermission.
The loop:
* Kill priority targets.
* Manage debuffs and positioning.
* Survive intermission.
* Repeat until dead.
Core Mechanics
Shadow Orbs
At the start of each phase, 3 orbs spawn at the edge of the room.
* They move toward the boss.
* If any orb reaches him, the raid wipes.
* Kill them immediately.
Tanks: One orb spawns close to the boss. Move him away from it.
Fractured Image Adds
The boss summons adds during the phase.
* Interrupt them.
* Stun or crowd control them.
* Kill them quickly.
Uncontrolled casts will overwhelm the raid.
Intermission
At 100 energy:
* The boss begins rotating.
* Spinning beams sweep around the room.
* He takes 25 percent increased damage.
This is high damage on the raid.
Dodge beams while pushing damage into the boss.
After intermission, move the boss. A puddle will be left at his feet.
Other Mechanics
Despotic Command (Dispellable DoT)
* Applied to random players.
* Creates a circle around them that damages anyone inside.
* When dispelled, it drops a puddle on the ground.
Players must move out before being dispelled.
Healers should not dispel early.
Shattering Twilight
Targets players and creates star shaped lines radiating from them.
Affected players must:
* Move away from the group.
* Avoid clipping others with the lines. -
Letting an orb reach the boss.
Standing in beams during intermission.
Standing in puddles.
Ignoring tank debuff stacks.
-
Not moving out with Shattering Twilight.
Dropping Despotic Command circles in the group.
Failing to interrupt Fractured Images.
-
Heavy raid damage during intermission.
Do not dispel Despotic Command until the player is clear of the group.
-
Swap when the stacking debuff becomes dangerous.
Move the boss away from nearby orbs.
Reposition him after each intermission to avoid puddles.
-
On pull
-
Orbs apply a stacking raid wide DoT when killed.
Shattering Twilight bounces to additional players if it hits someone.
Spread correctly or it chains.
Fallen-King Salhadaar Simplified
Kill the orbs fast, control the adds, dodge beams in intermission, and move out with your debuffs.

Vaelgor & Ezzorak
-
Born as clutchmates in the red dragonflight, Vaelgor and Ezzorak were once the guardians of all living things. Now, twisted by the dark will of Xal'atath, all that remains of their former selves is their unyielding bond to one another.
-
Overview
Two phase fight with two dragons.
Both are active for the entire encounter:
* One is on the ground.
* One is in the air.
* They swap roles over time.
Important rules:
* Keep the dragons 15 yards apart.
* Keep their health within 10 percent of each other.
If their health drifts too far apart, you will wipe.
Core MechanicsPhase 1:
Vaelgor (Ground Abilities)
Nullbeam
* A frontal attack that must be soaked by the raid.
* Stack in front to split the damage.
Immediately after:
Nullzone
* A void zone appears.
* Players are tethered to it and pulled inward.
* Run away from the zone until your tether snaps.
Dread Breath
* Frontal aimed at a random player.
* Anyone hit is feared for a long duration.
Targeted player must aim it away from the raid.
Healers can dispel the fear.
Ezzorak (Ground Abilities)
Void Howl
* Circle appears on every player.
* Circles explode shortly after.
* Each player leaves behind an orb.
Spread lightly before the explosion.
Interrupt and AoE the orbs immediately.
Gloom
* A large orb travels from the boss toward the edge of the platform.
* If it reaches the edge, it creates a large permanent void zone.
Up to 5 players can walk through the orb to shrink it before it reaches the edge.
Each soak applies a stacking debuff.
Do not ignore this orb.
Phase 2: 100 Energy
Both dragons take flight.
* Heavy pulsing raid damage begins.
* A golden barrier appears in the center.
Players must stand inside the barrier to survive.
During this phase:
* Kill the large add.
* If you get the purple circle, move out of the group inside the barrier.
Do not clip others inside the safe zone. -
Letting the dragons drift more than 10 percent apart in health.
Standing behind the active dragon.
Overlapping during Void Howl.
Failing to soak Gloom.
Not entering the golden barrier in Phase 2.
-
Aiming Dread Breath into the raid.
Not moving out with the purple circle in Phase 2.
Poor orb control from Void Howl.
-
Dispel fear from Dread Breath quickly.
Heavy raid damage after Nullzone.
Sustained pulsing damage in Phase 2.
-
Keep dragons at least 15 yards apart at all times.
Position them so frontals are aimed away from the raid.
Coordinate damage to keep them within 10 percent HP.
Swap if required by tank debuffs.
Be ready to reposition quickly when they swap air and ground roles.
Your positioning controls most wipes in this fight.
-
On pull
-
After snapping Nullzone tethers, players take a heavy DoT.
Healing coordination becomes much more important.
Vaelgor & Ezzorak Simplified
Keep the dragons apart and within 10 percent HP.
Soak Nullbeam and Gloom, spread for circles, aim breaths away, and stack in the barrier for Phase 2.

Lightblinded Vanguard
-
Once paragons of the light, Lightblood, Bellamy and Senn have surrendered to their own blinding zealotry -- their faith perverted into ruthless fanaticism now compels them to smite all who oppose them.
-
Overview
Single phase council fight against three Paladins.
All three are active at the same time.
They must die at roughly the same time.
If one dies significantly earlier than the others, the fight becomes much harder or unwinnable.
Aura Cast
When a boss reaches 100 energy:
* They cast a powerful aura around themselves.
* Players must move out of the aura.
* Tanks must move the other two bosses out of it as well.
Do not overlap bosses inside an active aura.
Other Mechanics
Execution Sentence
A targeted soak mechanic.
* The assigned players must soak it.
* Failing to soak will likely kill the target.
Avenger’s Shield
Targets a player.
* Move away from the group.
* Do not bounce it through the raid.
Absorb Shield
A boss will gain a shield.
* Break it quickly.
* Interrupt Blinding Light. -
Not soaking Execution Sentence.
Standing in active Auras.
Standing in Consecrated ground on Heroic.
-
Not moving bosses out of Auras.
Letting one boss die too early.
Failing to interrupt Blinding Light.
Not moving away with Avenger’s Shield.
-
Heavy raid damage after Sacred Toll.
Heavy damage during Execution Sentence.
-
Keep bosses stacked for cleave.
When an Aura is cast, move the other two bosses out immediately.
Swap after Judgement.
Coordinate damage to ensure bosses die evenly.
-
On pull
**Note** Bosses may gain a dispellable immunity.
Be ready to remove it quickly.
-
Information not yet available
Lightblinded Vanguard Simplified
Keep bosses even in health, move them out of Auras, soak Execution Sentence, and break shields fast.

Crown of the Cosmos
-
High atop the Voidspire, Xal'atath marshalls her dark army from across the Voidstorm. Aided by Turalyon, Arator, and Alleria, the mortals of Azeroth must confront her before she unleashes the might of the Voidspire against her enemies.
-
Fight overview:
This is a 3 phase fight with intermissions between.
Core Mechanic:
Phase 1 - 3 adds must be killed, however, in order to kill them they must be hit with a Silverstrike arrow. Morium has a big tank hit with a knockback. Demiar has a silence and Vorelus has a 15yd AoE. Random players will get targeted with the Grasp of Emptiness. This appear as 3 purple spikes pointed outwards from the player, as you move the direction of the spikes move too so you can aim them out of the raid, think of pulling a bow to fire an arrow!
Intermission - Alleria will begin pulling players into the centre of the room while shooting out Silverlight Barrages. These should be dodged unless you find the pull too strong, then you can reset your stacks of the debuff by letting the arrow hit you once.
Phase 2 - Here an add spawns called the Rift Simalacrum (it shares health with Alleria!) Adds will spawn with a similar buff to the adds in Phase 1. To clear this and kill them you need to ensure they are hit by the Silverstrike Ricochet. This will target and bounce between several players so you need to move to ensure it will hit the adds on the way
*Top Tip*
The add will light up once you are in position to help you get into the right spots.
Destory the Simalacrums shield and kill it.
Intermission - As before but with added balls to dodge.
Phase 3 - Grasp of Emptiness returns for this phase. The new ability for this phase is Aspect of the End. 2 players (a tank and one other) will be targeted by a circle that you move out of one at a time as it will cause raid wide damage. Once this is done the plaform will be consumed by the void and you will need to jump to the next one! Make sure you pick up a feather, get the buff, and then jump over the gap. This will repeat until Alleria is dead.
Other mechanics:Void droplets spawn in Phase 1 that need to be DPSed down.
The pool in Phase 2 is not a soak - move out of this!
-
Standing in lines or pools
Getting sucked into the middle in intermission
Not breaking the Simalacrums shield quickly enough
-
Aiming the grasp of emptiness at your team.
Messy pool placement in P2
-
The raid takes high damage while the Simalacrum shield is up and big damage after snapping the Aspect of the End
-
During P2 - tank swap after Ricochet
During P3 - swap after Aspect of the End.
-
At the start of Phase 3
-
During the intermission Silverstrike Barrage applies a debuff that increases damage from further Barrages by 300% for 8secs
Grasp of emptiness will target more players
Crown of the Cosmos Simplified
Use the arrows to your advantage and kill the adds


Chimaerus, the Undreamt God
-
When Aln'hara was taken from her Cradle, only pain and madness was left to shape the chaos of the rift. Chimaerus feasted on the void left behind, gorging itself on other nightmarish manifestations. Now it stands as the monster within the rift - a being of agony and rage.
-
Overview
Two phase fight.
Phase 1 is split across two realms:
* The Ordinary Realm
* The Aln Realm
The raid must split between them.
Phase 2 is a platform bombardment phase before returning to Phase 1.
Repeat until dead.
Phase 1: Two Realms
Realm Split
The raid splits in half:
* One group remains in the Ordinary Realm.
* One group goes to the Aln Realm.
The boss casts Alndust Upheaval on the tank.
Players who soak this are sent to the Aln Realm.
Swap which group goes down each time.
Do not go to the Aln Realm twice in a row.
Aln Realm: Add Control
In the Aln Realm:
* Multiple adds spawn.
* Tanks must pick them up and move them away from the boss.
* Kill them quickly.
One large add spawns with a shield covering half its health.
* Break the shield first.
* When the shield breaks, the add returns to the Ordinary Realm.
* It begins moving toward the boss.
This add must be:
* Slowed
* CC’d
* Killed before it reaches the boss.
If it reaches him, it is very likely a wipe.
Phase 2: Sky Bombardment
The boss takes to the air.
* The platform fills with damaging, slowing pools.
* Adds spawn during this phase.
Raid priority:
* Gather and kill the adds quickly.
The boss then casts Ravenous Dive:
* He crashes into the platform.
* Deals heavy raid damage.
* Consumes any remaining adds.
Leftover adds make this much worse.
After the dive, return to Phase 1.
Other Mechanics
Consuming Miasma
One player receives this debuff:
* Blue circle around them.
* When dispelled, it removes all floor pools.
Healers must wait to dispel until the player is positioned near pools.
This is your pool cleanup tool.
Frontal Attack
The boss casts a frontal cone:
* Applies a heavy bleed.
* Avoid it completely. -
Going to the Aln Realm twice in a row.
Standing in pools.
Letting the large add reach the boss.
Standing in frontals.
Standing in Ravenous Dive.
-
Not clearing pools when you have Consuming Miasma.
Poor CC on the returning large add.
Leaving adds alive before Ravenous Dive.
-
Phase 2 has heavy raid damage.
Ravenous Dive is a major damage spike.
Do not dispel Consuming Miasma early.
Players hit by the frontal will take strong bleed damage.
-
Swap for Alndust Upheaval soaks.
In the Aln Realm, move adds away from the boss.
Keep the large add faced away from the group.
Help coordinate control on the returning add.
-
On pull
-
Information not yet available.
Chimaerus, the Undreamt God Simplified
Split the raid between realms and swap each time.
Break shields, kill adds before they reach the boss, clear pools with Miasma, and survive Phase 2 before the Dive.

Belo'ren, Child of Al'ar
-
One of the last clutch of Al'ar, Belo'ren was raised for the purpose of protecting the Isle of Quel'Danas. In the aftermath of the Voidspire. Belo'ren has been irradiated by Void. Confused and freshly hatched, the phoenix is focused on its sole task: Keep any invaders from reaching the Sunwell.
-
Overview
Two phase fight built around colour matching.
At the start, each player is infused with either:
* Light (gold)
* Void (purple)
Remember your colour.
Almost every mechanic depends on it.
Core Mechanics
Phase 1 : Colour Mechanics
Many abilities require you to either soak or avoid them based on your feather colour.
If it matches your colour, you interact with it.
If it does not match, stay out.
Embers
Creates a soak circle.
* Soak it only if it matches your colour.
* Do not enter if it is the opposite colour.
Infused Quill
An arrow points toward a targeted player.
* A player of the matching colour must intercept it.
* If the wrong colour soaks it, it will likely cause heavy damage or wipe.
Orb Walls
Walls of coloured orbs appear.
* Players of the matching colour must break them.
* Opposite colour players should avoid them.
Phase 2: The Egg
At 0 percent, the boss transforms into an egg.
During this phase:
* DPS the egg quickly.
* Stand on ground that matches your colour.
The floor will show coloured zones.
Standing in the wrong colour is dangerous.
If the egg is not killed in time, the boss respawns and Phase 1 repeats. -
Standing in the wrong colour.
Soaking mechanics that do not match your colour.
Standing in the wrong coloured ground during Phase 2.
-
Intercepting Infused Quill with the wrong colour.
Failing to soak your assigned colour mechanics.
Not killing the egg fast enough.
-
Eternal Burns applies a healing absorb that must be healed through.
Phase 2 has pulsing raid damage.
Expect damage spikes if players mishandle colour mechanics.
-
Swap based on colour mechanics as required.
Position the boss clearly so colour based mechanics are easy to see and assign.
Help call incorrect soaks quickly.
-
Phase 2 during the egg burn.
-
Information not yet available.
Belo’ren, Child of Al’ar Simplified
Remember your colour.
Soak and break only what matches it, and kill the egg before the boss revives.
Midnight Falls
Not available for testing, we will update this when more information is available
-
Once a creature of Light, L'ura fell to the Void long ago on Argus, her essence siphoned by Alleria Windrunner in the Seat of the Triumvirate. Freed from her bindings, L'ura's dark energies now threaten the very Sunwell itself.
-
Fight Overview
This is a 3 phase fight with an intermission.
Core Mechanic
Phase 1 - Death's Dirge - the memory game.
The boss displays three symbols in order. Three players are then marked with those symbols and must position themselves around the boss starting at 12 o’clock, moving clockwise.
This positioning matters because a rotating beam will hit players in order, following the same clockwise direction. If players are not positioned correctly, the damage will wipe the raid.
Example: Diamond → T → X
Diamond = 12 o’clock
T = 3 o’clock
X = 5 o’clock
**The beam will then hit: Diamond → T → X in that order**
The boss will then summon adds called "Safeguard Prism" which need to be interrupted until they disappear. This will summon new adds, "Midnight Crystals" need to be killed and "Dusk Crystals" need to be healed. When a Dusk Crystal reaches max health it will turn into a "Dawn Crystal" which needs to be picked up by an assigned player. They will then have an extra action button they can use to pick up and put down the crystal.
Intermission - During the intermission its important that the assigned players aren't hit by mechanics and everyone should dodge lines and stars.
Phase 2 - During this phase you are in the middle of the room with the boss and "Void Cores" are circling the room. 4 players will be targetted with Galvanize and can move to hit the Cores with the beam. These cores will then become "Cosmic Cores". After a few seconds the orbs will get sucked into the boss - make sure to avoid getting hit! Once the boss hits 100 energy the group will need to stack together ready to get knocked back into Phase 3.
Phase 3 - Players that hold crystals will apply "Torchbearer" to all nearby players, everyone should aim to stay in close enough to maintain this buff to avoid a nast DoT.
During the Dark Archangel cast the extra action button for the crystals will turn into a "Dawnlight Barrier" button. Players with a crystal take turns using this to avoid the massive damage here. The crystal is destroyed in the process.
After this the boss will cast "Black Tide" - a frontal that blocks out a segment of the room. Players move to the next free section and repeat the phase until the boss is dead.
Other Mechanics:
In Phase 1 the boss will shoot glaives out after the memory game for you to avoid and then beams will spin around the centre of the room which you should avoid. -
Getting hit by glaives.
Standing in beams.
Walking out of bounds in P2.
Not grouping during Black Tide.
-
Failing Death’s Dirge order.
Missing interrupts.
Not handling adds correctly.
Missing Void Core beams.
Not using Dawnlight Barrier.
-
Heavy damage after Safeguard Prism.
Increased damage if adds are mishandled.
Rot damage during Total Eclipse.
High raid damage from Void Core detonations.
Dark Archangel requires strong cooldowns.
-
Swap after Impaled (triggered by 5 stacks of Heaven’s Lance).
-
On pull or Phase 3..
-
Death's Dirge now gives 5 symbols instead of 3.
If Dusk Crystal carriers get hit they will spawn soaks. Put the crystal down safely, soak, then pick it back up.
In Phase 2 the galvanize beam needs to be soaked.
In Phase 3 there will be 3 "Light Siphon" soaks.
Midnight Falls Simplified
Do the memory game correctly (12 → clockwise).
Interrupt and handle adds. Dodge everything. Aim beams at Void Cores. In P3, stay stacked, stay in the light, and rotate barriers.
Glory Raids!
With the release of every new raid Daugen takes a crack team of raiders in with the mission to complete the “glory of” achievement. He is even nice enough to put together a handy guide for it too!